When Remodelista recently featured a picture of the Laboratory’s painted plywood floors in Remodeling 101: Painted Plywood—The Best Budget Wood Floor, I figured it was time to show HOW my plywood floors actually were made, and to lend a little reality to what it takes to install and paint 1000 square feet of them. I love ’em, and they are a great budgetish wood floor, but they’re also serious work…
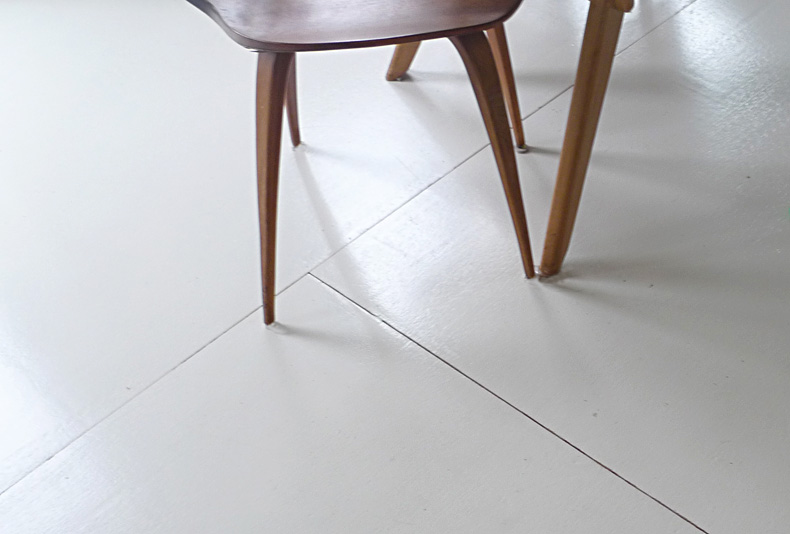
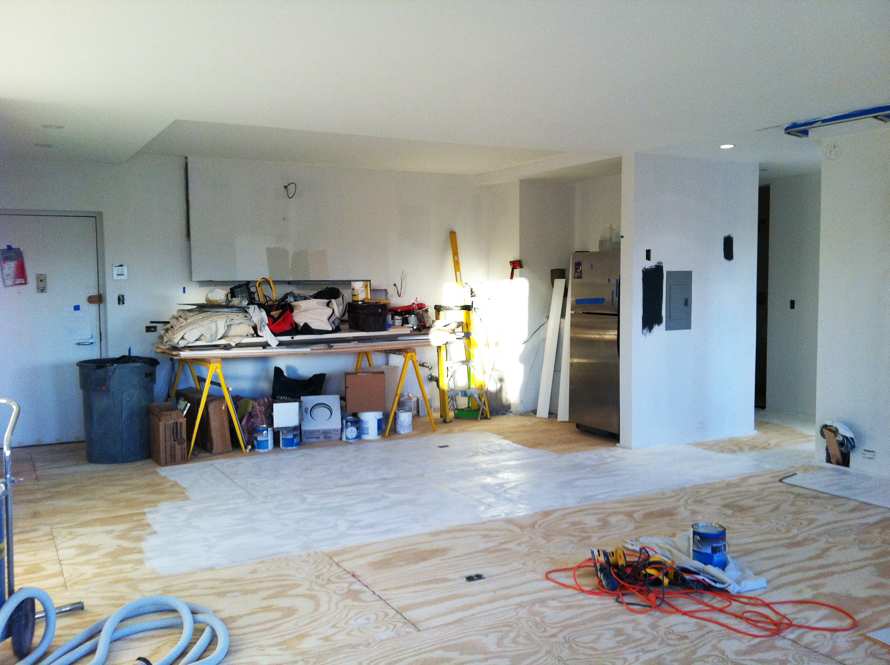
I made the decision to go with plywood when the floors when what I imagined to be concrete under the ancient carpeting turned out to be REALLY rough concrete slab covered with a crumbling gypsem leveler. It would cost a fortune to have those floors honed into the glossy concrete floors I’d admired in art galleries, so I started hunting for other solutions. Linoleum is pretty expensive; I didn’t think the engineered wood could withstand my rough use. The contractor Skip Geiger of Geiger Construction suggested plywood, as did my ever-inventive friend Holton Rower. Geiger suggested using outdoor plywood which is tongue-and-groove on the two long sides; one surface of this kind of plywood is quite rough, the other smooth, but not quite furniture grade. Skip’s plan was to tongue-and-groove the short sides as well so that each sheet of plywood would fit into the next like a puzzle, the edges locked down.The process of creating the Laboratory’s painted plywood floor follows (the image above was taken just after the final coat of paint).
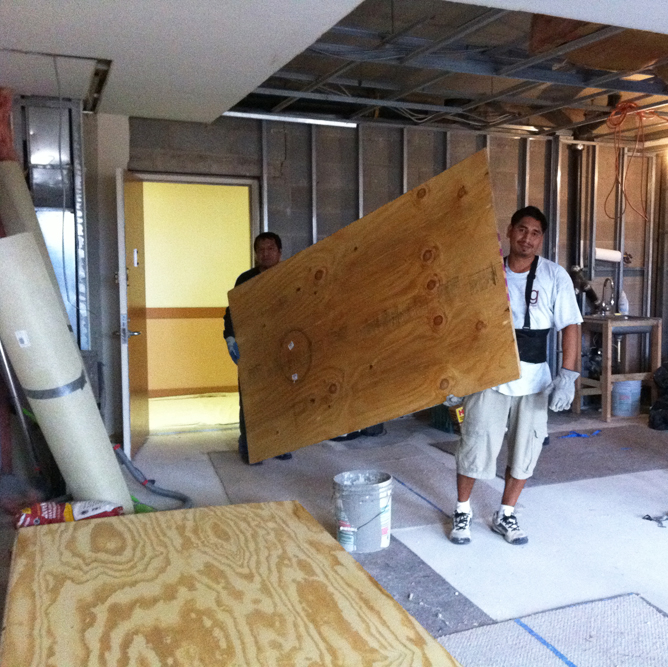
The first harsh reality: 4-foot-x-8-foot sheets of plywood would not fit in the building’s elevator. They would have to carried up 8 flights of stairs, one at a time.
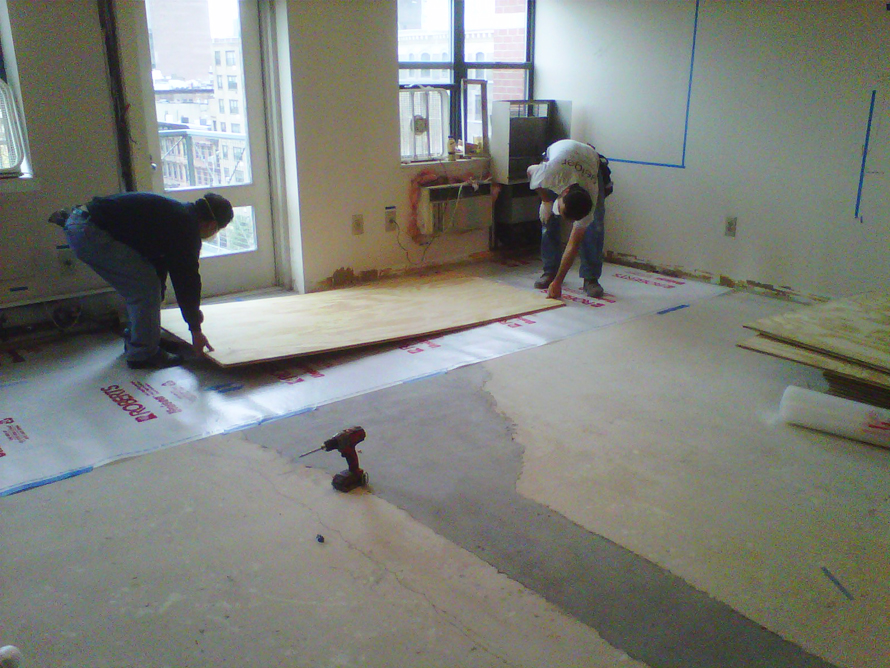
Skip had the idea to put a thin, spongy underlayment down, to provide padding and a little “give” between the concrete and the plywood.
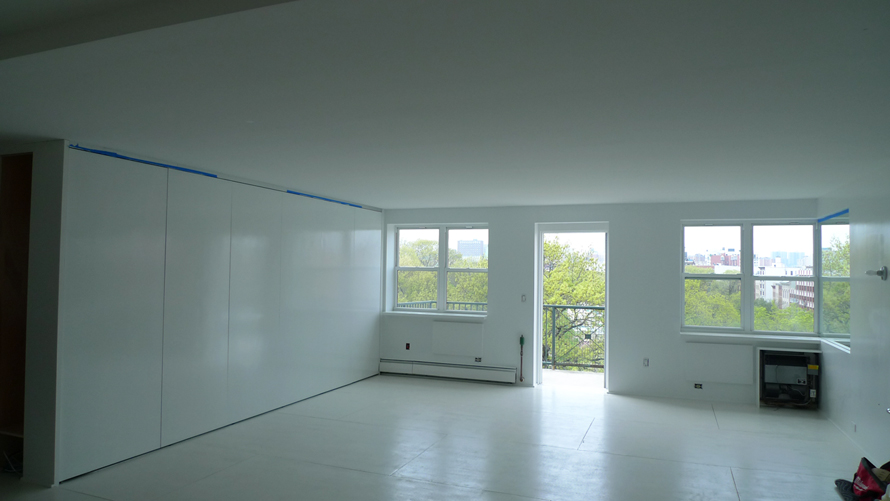
We decided to place the sheets of plywood going horizontally, parallel to the front wall of the apartment, to give a sense of expansiveness.
Each short edges of each piece of plywood were tongue-and-grooved, then all the edges sanded…
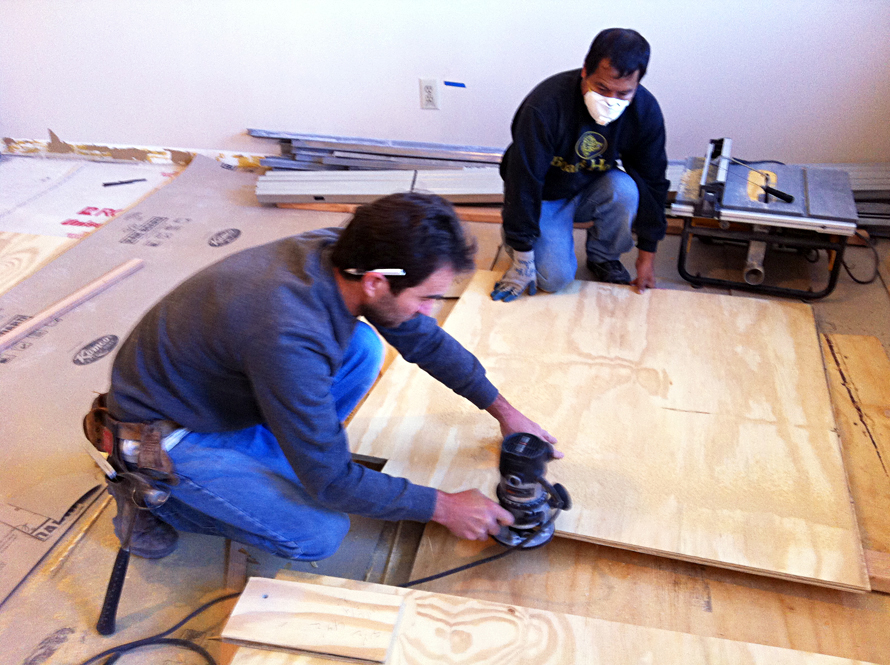
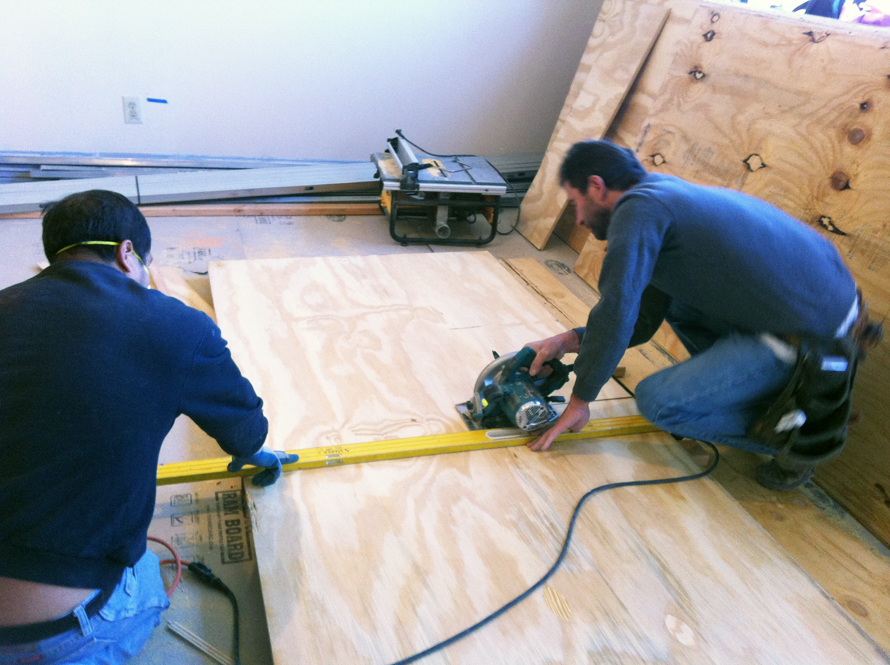
Some sheets had to be carefully measured and cut to fit in odd spaces…
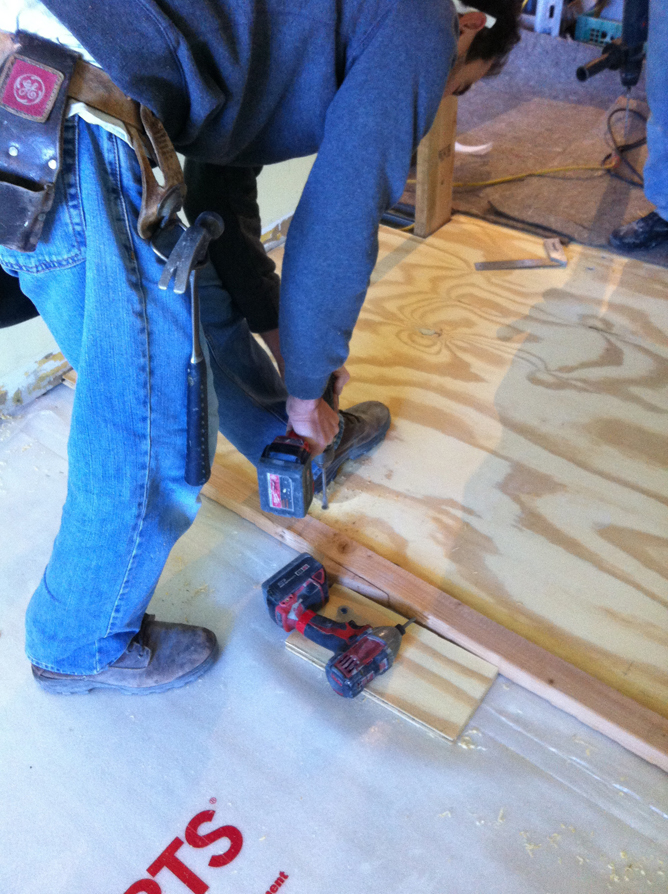
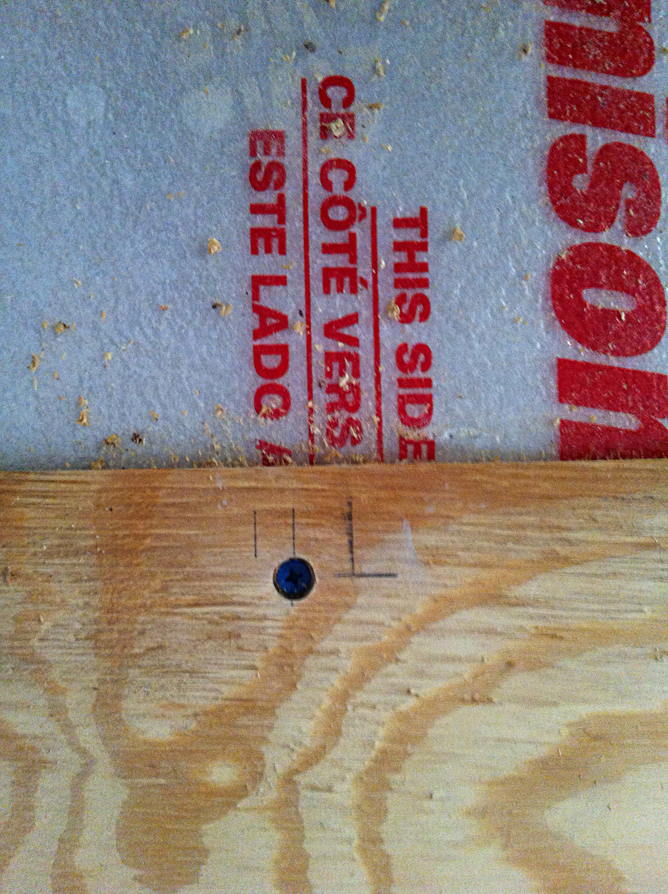
Each slab was knocked into place with a mallet, then screwed into the concrete using concrete screws…
The screw holes would later be filled with wood plugs, so when painted, they would disappear…
As soon as a section of the floor was finished, it was covered with RamBoard, a tough cardboard-like material, to protect the floors.
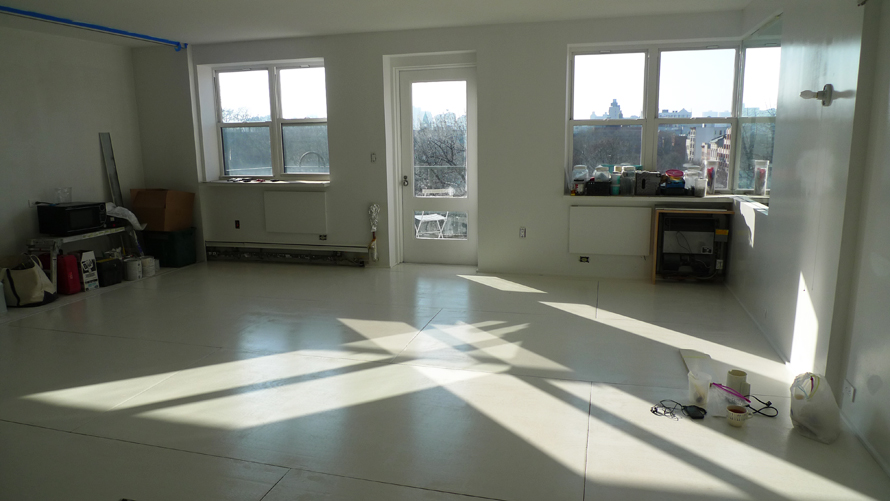
Before painting, the floors were lightly sanded and every trace of dust had to be vacuumed up. The wood buttons were placed into the screw holes. Then the floors were primed. For a while, I considered just “washing” the floors with paint so that the grain would show through…
Looking for the toughest paint I could find, I used California Paints Industrial Alkyd paint. In trying to copy a Benjamin Moore color, we accidentally hit on a lovely oyster color. Each coat of paint had to be lightly sanded and vacuumed before the next coat was applied for a total of two coats in addition to the primer.
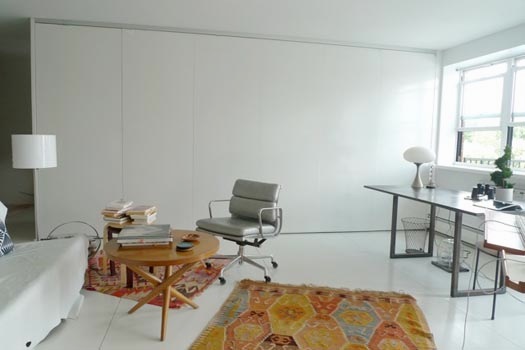
When you consider all the labor involved, the cost of the floor was not exactly cheap (about on a par with good quality engineered wood). The surface of the plywood is a bit soft and prone to denting, but the tongue-and-grooving in all four sides makes it absolutely solid. It still looks great and the FEEL of it is wonderful. It can be painted endlessly. I view it as a palette for many possible paint iterations in the years to come.
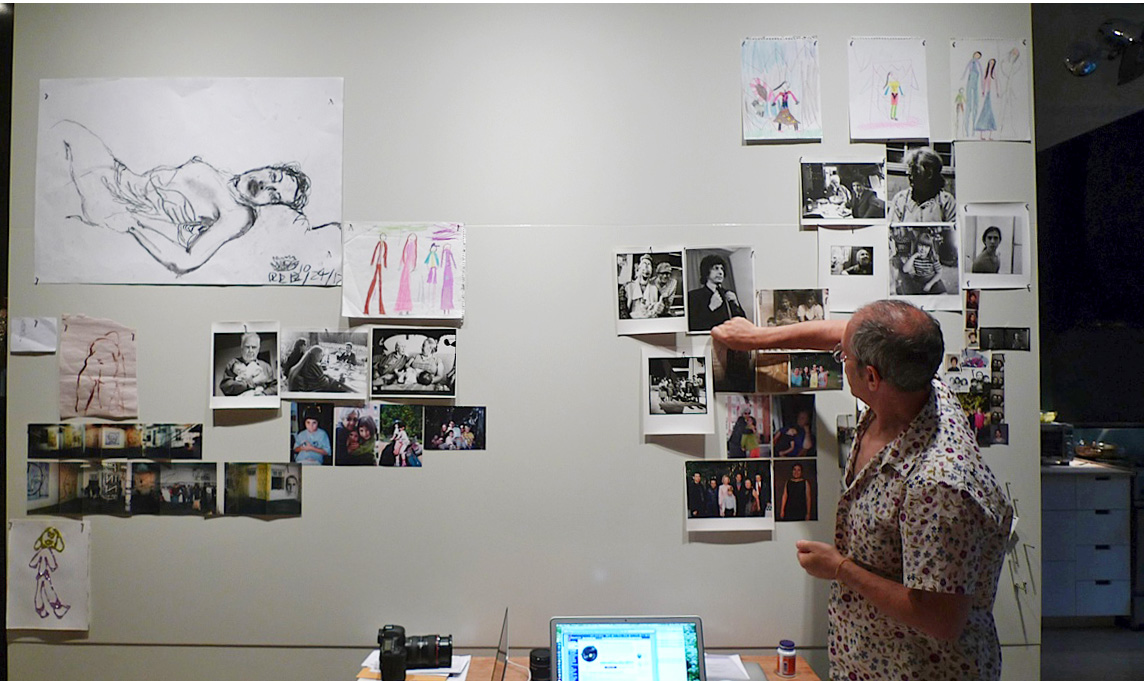
Stay tuned for when I get around to really photographing the Laboratory and its plywood floors lived in. Here’s a start:
Related posts: we finally figure out the best way to clean wood floors
‘love letter to plywood’ from tom sachs (and from us…look what we did with it)
a busy office disappears behind hafele’s sliding wall
reno 101: why minimalist interior design is expensive

Hello Sally,
Your white floors look amazing. How are they holding up over time? I’m interested in doing the same in my house but there are lots of naysayers saying they won’t be durable enough to retain the sleek look.
Many thanks.
I’ve had birch plywood floors for over 20 years! They still look good.
Hey, send us some pictures!