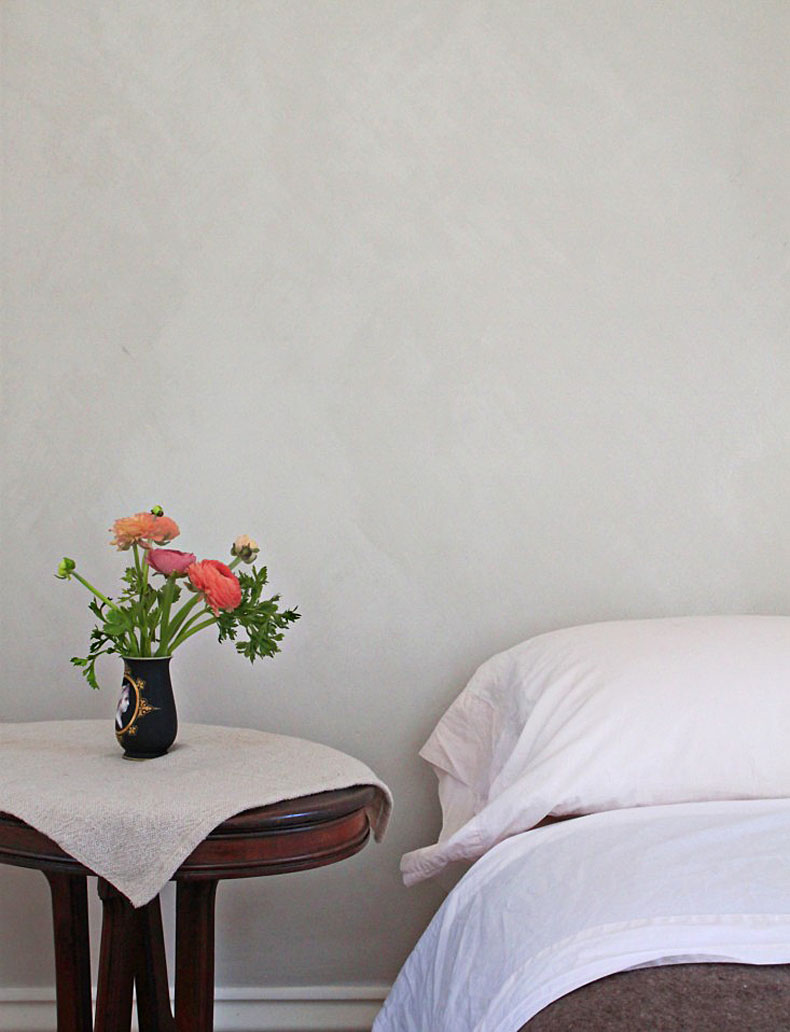
When friends renovated their NYC brownstone, they made wonderfully varied walls — high-gloss painted walls next to beautiful flat, chalky ones achieved by careful plastering — that made the rooms incredibly interesting without calling attention to themselves.
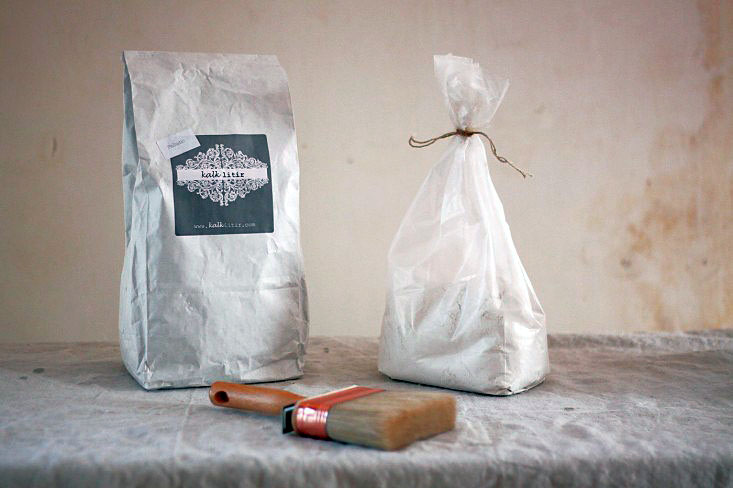
I copied their high-gloss walls in my Harlem space, but wondered how I could achieve the chalky effect of plaster myself. The answer recently presented itself in a great DIY by Justine Hand for Remodelista. Hand shows how to limewash a wall using materials from Kalklitir. According to Hand:
Limewash is created when limestone or calcium carbonate is crushed and burned, then mixed with water and natural pigments. It was traditionally applied to plaster, stone, cement, or stucco. These days, it’s also mixed with an adhesive, so it can stick to nonporous contemporary materials. It’s nontoxic, antibacterial, and mold resistant. The only drawback is that you can’t clean it—instead, a fresh coat needs to be applied.
Other than limewash specially formulated for walls, the process takes no special materials or skills.
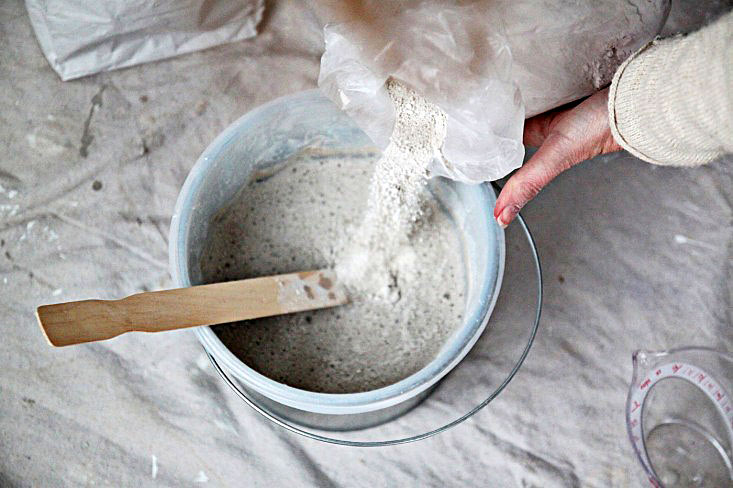
It basically involves preparing the wall as you would for any paint job, mixing the limewash and painting it on.
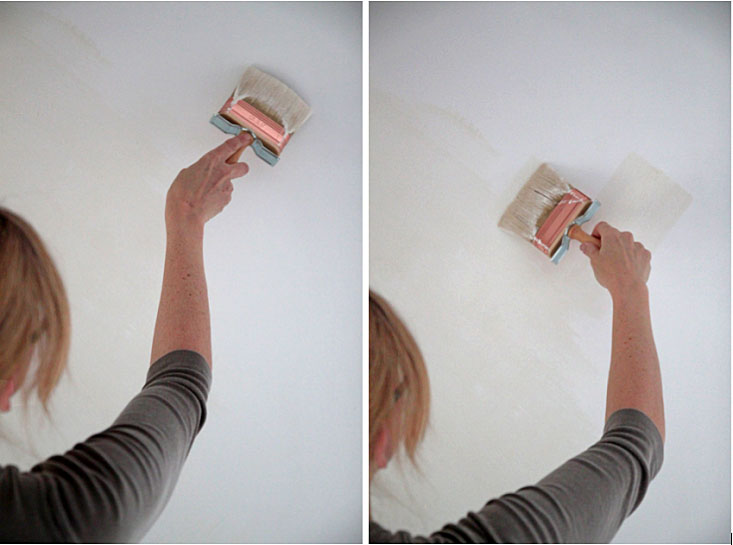
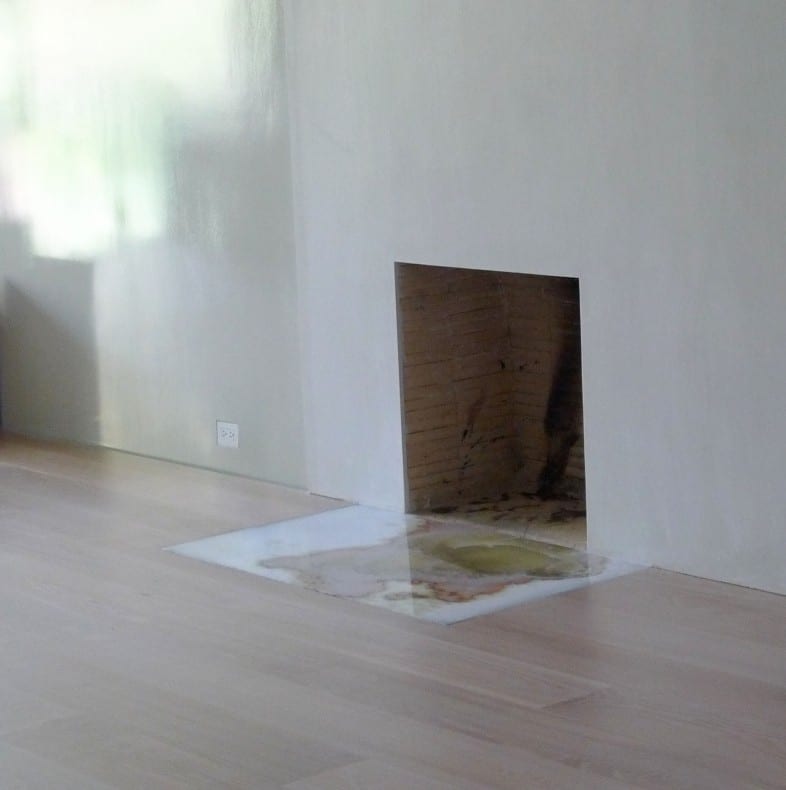
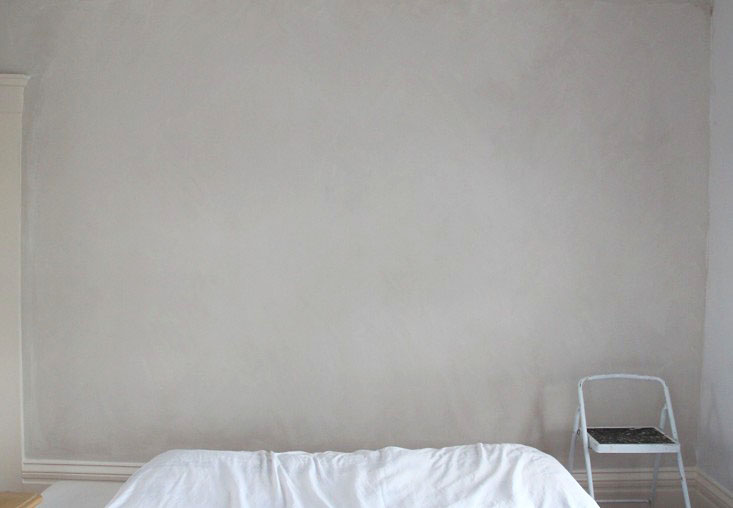
These two images really give a sense of the transformation of wet lime wash…
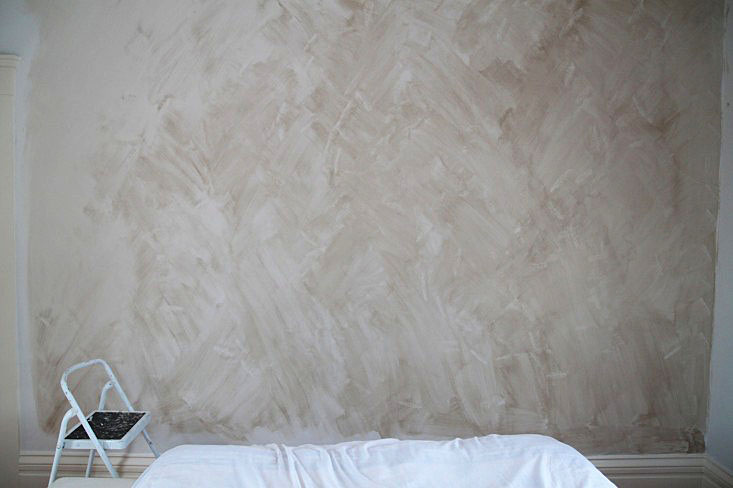
to dry…
You’ll find complete instructions here as well as a trove of info and videos at Kalklitir’s site.